0
No products
To be determined
Shipping
$0.00
Total
This item added to your cart. Calculate any delivery cost at next step.
Quantity
Total
There are 0 items in your cart. There is 1 item in your cart.
Total products
If you are doing research before joining the more than 80,000 customers that have rented our camping and travel gear, or have already received your camping gear rental package from us, here's where you can learn a bit more about the operation or setup of a specific camping or travel gear item before you head out on your next trip.
The information below provides more details on how to set up the Big Sky Soul 1-person we rent, but we encourage you to give us a call or find more resources online if more details are needed. For more information on this rental item including rates, check out the main product page at Rent Tent - 1-person Tent for Backpacking. There are more how-to pages on nearly all of our most popular rental items; find most at our video and user guide to rentals main page .
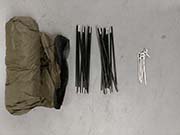
This backpacking tent rental is the lightest one we offer, but as with any one-man tent, space is at a premium. In the stuff sack find the body, fly, 2 poles, and some stakes. Bring light cordage with you if you want additional guy-out line options.
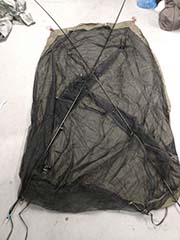
The 2 longer poles will support the body in a "X" structure
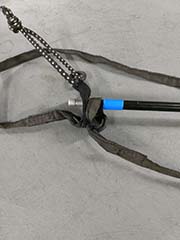
Insert the pole ends in each corner and then attach the body clips along the length of the poles
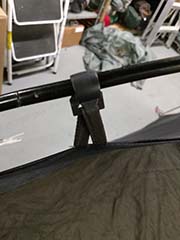
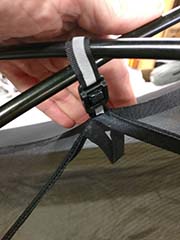
Here's what it should look like with the poles setup. All of our rental tents have internal storage pockets to keep your smaller personal belongings off the tent floor.

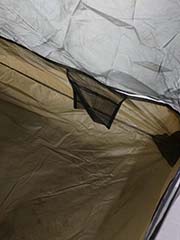
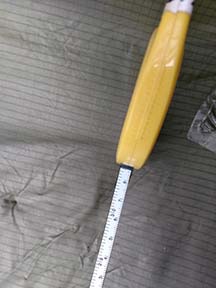
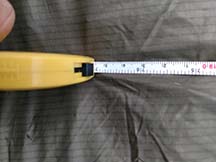
The practical interior camping area for you and your gear is about 34" across at the tent head and 6.5' long. At the foot of the tent, it is substantially narrower - just wide enough for a mattress pad. If a solo backpacker wants more room, consider renting a 2-person model from us instead.
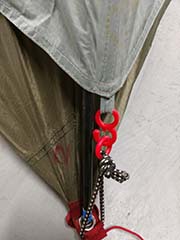
Drape the fly - if needed - over the body. Note that the fly-body attachments are red on one side of the tent and black on the other. This allows you to correctly align the body and fly.
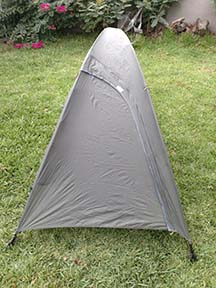
Below is the tent with the fly fully attached and ready for bad weather.
Here is an overview video about our rental backpacking tents
The information below provides more details on how to set up the Big Sky Soul 1-person we rent, but we encourage you to give us a call or find more resources online if more details are needed. For more information on this rental item including rates, check out the main product page at Rent Tent - 1-person Tent for Backpacking. There are more how-to pages on nearly all of our most popular rental items; find most at our video and user guide to rentals main page .
This backpacking tent rental is the lightest one we offer, but as with any one-man tent, space is at a premium. In the stuff sack find the body, fly, 2 poles, and some stakes. Bring light cordage with you if you want additional guy-out line options.

The 2 longer poles will support the body in a "X" structure

Insert the pole ends in each corner and then attach the body clips along the length of the poles


Here's what it should look like with the poles setup. All of our rental tents have internal storage pockets to keep your smaller personal belongings off the tent floor.


The practical interior camping area for you and your gear is about 34" across at the tent head and 6.5' long. At the foot of the tent, it is substantially narrower - just wide enough for a mattress pad. If a solo backpacker wants more room, consider renting a 2-person model from us instead.


Drape the fly - if needed - over the body. Note that the fly-body attachments are red on one side of the tent and black on the other. This allows you to correctly align the body and fly.

Below is the tent with the fly fully attached and ready for bad weather.

Here is an overview video about our rental backpacking tents

