0
No products
To be determined
Shipping
$0.00
Total
This item added to your cart. Calculate any delivery cost at next step.
Quantity
Total
There are 0 items in your cart. There is 1 item in your cart.
Total products
If you are doing research before joining the more than 80,000 customers that have rented our camping and travel gear, or have already received your camping gear rental package from us, here's the page to learn a bit more about the setup and operation of a specific travel or camping gear item before you head out on your big adventure.
The information below provides more details on how to operate the etrex gps, but we encourage you to give us a call or find more resources online if more details are needed. For more information on this rental item including rates, check out the main product page at Rent a Garmin eTrex 10 handheld GPS - Perfect for hiking, Geocaching and Outdoor activity. There are more how-to pages on nearly all of our most popular rental items; find most at our video and user guide to rentals main page .
The basic eTrex unit from Garmin has been our workhorse rental for more than 15 years for general wilderness navigation, geocaching projects, and group training sessions. Its compact form easily fits into most pockets.
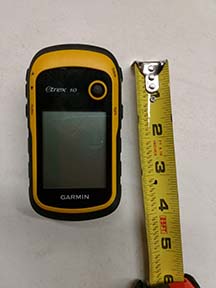
Etrex units require 2 AA batteries, which will last several hours if left on all the time. Take extras with you, as the batteries inside when you get it might be brand new, but are as likely to be ready to die. We don't test the batteries beyond ensuring that the unit powers on and main functions are working.
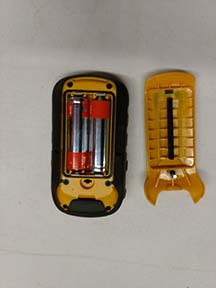
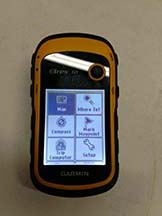
The following pictures show you some the functions and usages you can get out of our rented gps units. You first want to capture a signal from the gps satellites, which is best achieved outdoors, with the unit having a clear shot to the sky overhead. From the main menu you can access all functions.
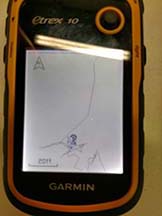
If you have "tracking" on, the unit will show your progress as "bread crumb" lines you can re-trace to get back to your car or trailhead, as examples.
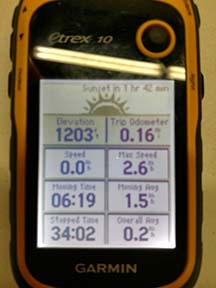
This menu screen shows the 'trip computer', reflecting distance, elevation, pace, etc, between resets
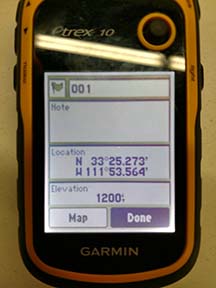
Find your then-current latitude/longitude location on a map by accessing the 'mark waypoint' page
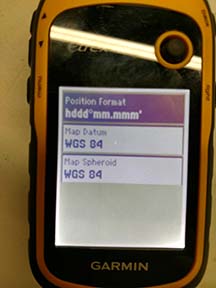
If you do not like the traditional lat/long format, you can change the formats to display your location and measurements to match any paper maps you may be using in conjunction with the gps. We suggest learning some about "UTM" as a very useful format for navigating.
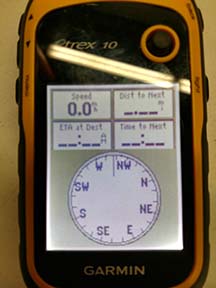
A mechanical compass may be more reliable, but the built-in compass with the gps is almost as accurate.
Here is an overview video about the gps units we rent
The information below provides more details on how to operate the etrex gps, but we encourage you to give us a call or find more resources online if more details are needed. For more information on this rental item including rates, check out the main product page at Rent a Garmin eTrex 10 handheld GPS - Perfect for hiking, Geocaching and Outdoor activity. There are more how-to pages on nearly all of our most popular rental items; find most at our video and user guide to rentals main page .
The basic eTrex unit from Garmin has been our workhorse rental for more than 15 years for general wilderness navigation, geocaching projects, and group training sessions. Its compact form easily fits into most pockets.

Etrex units require 2 AA batteries, which will last several hours if left on all the time. Take extras with you, as the batteries inside when you get it might be brand new, but are as likely to be ready to die. We don't test the batteries beyond ensuring that the unit powers on and main functions are working.

The following pictures show you some the functions and usages you can get out of our rented gps units. You first want to capture a signal from the gps satellites, which is best achieved outdoors, with the unit having a clear shot to the sky overhead. From the main menu you can access all functions.

If you have "tracking" on, the unit will show your progress as "bread crumb" lines you can re-trace to get back to your car or trailhead, as examples.

This menu screen shows the 'trip computer', reflecting distance, elevation, pace, etc, between resets

Find your then-current latitude/longitude location on a map by accessing the 'mark waypoint' page

If you do not like the traditional lat/long format, you can change the formats to display your location and measurements to match any paper maps you may be using in conjunction with the gps. We suggest learning some about "UTM" as a very useful format for navigating.

A mechanical compass may be more reliable, but the built-in compass with the gps is almost as accurate.

Here is an overview video about the gps units we rent

